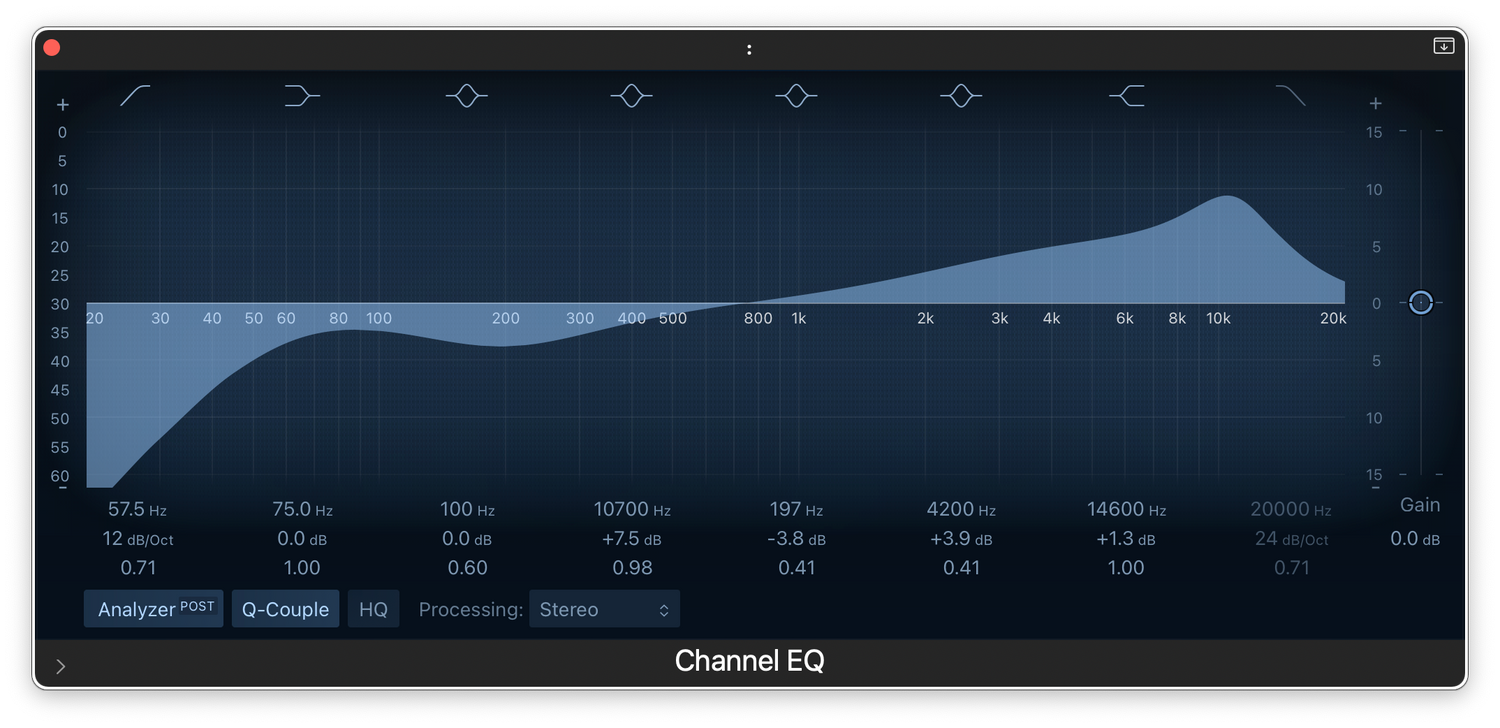
One of the most important steps in mixing vocals is shaping the tone.
There are many tools we use to do this - EQs, Exciters, and Filters are just a few.
But even more important than the tools we use is knowing what frequency ranges to adjust when you want to hear a specific result.
In this Vocal Tone Cheat Sheet - we’ll go over each main frequency range and when to reach for it.

Sub Frequencies
When it comes to vocals, sub frequencies are usually not desirable. They show up as plosives on the microphone, rumble, or other unwanted noise in a vocal recording.
You’re usually deciding whether or not to cut them out with a High Pass Filter (HPF).
If you hear plosives, rumble, or other sub frequency noise, turn on the HPF to clean them up.
Low Frequencies
Low frequencies are where all of the fundamentals are - these are the core frequencies for human voices.
Because of that, we want to treat them very carefully. Don’t push them too far in either direction if you want to maintain a natural sound.
For thin vocals, try boosting the Lows in Vintage Mode.
For muddy vocals, try cutting the Lows in Clear or Modern Mode.
Just be careful not to overdo it, really make sure that - if you’re cutting Lows - it’s not making your vocal sound too thin.
Mid Frequencies
Mid frequencies might be the most important frequencies when it comes to vocals.
This is where all of the presence comes from, and you almost always need direct control over them when you’re mixing.
Boost the mids when you want your vocal to sound closer, more present, and to cut through the mix.
Cut the mids if your vocal sounds harsh or nasally.
With Xvox, experiment with the different Tone Modes - especially for the mid sliders.
Modern Mode makes the mids brighter and crispier.
Clear Mode makes the mids more focused and in-your-face.
Vintage Mode makes the mids super warm. It is great for pulling out nasal sound by cutting the mids, too.
Be careful when boosting the mids that your vocal doesn’t start to get harsh. With Xvox, the mid slider is perfectly tuned for vocals to help you avoid this, but no matter what tool you use, make sure your vocal doesn’t get too harsh.
High Frequencies
High frequencies are best for controlling the brightness / dullness of your vocal.
If you want a brighter sound, boost the Highs on Modern Mode (this works really well in conjunction with the Air+ slider as well).
If you want a super smooth top end, try boosting the Highs in Vintage Mode.
Or, if you want ultra clear and natural sounding highs, try boosting the Highs in Clear Mode.
Those are great for boosting the brightness, but cutting the Highs can also be great for dulling out a vocal if you want a dark, super warm vocal tone.
The Vintage Mode is great for this - boosting the lows and cutting the highs is a great recipe for getting an ultra warm and vibey vocal tone.
Air Frequencies
Air frequencies are super high frequencies that give your vocal that crispness.
Be careful with what tools you use to get Air in your vocal though - many tools will add tons of harshness and “hissy” sounds.
The Xvox Air+ slider is specifically designed to give you super smooth top end that never gets harsh or spitty - making it the perfect tool for dialing in the air in your vocals.
Use this slider carefully - it’s like candy, and too much of it might not be good for you, even if it’s fun :)
Closing Thoughts
Keep these frequency ranges in mind for vocals to know exactly what to reach for depending on what you want to hear:
- Subs = Plosives, rumble
- Lows = Body, Warmth, Cleaning up muddy sound
- Mids = Presence, Clarity
- Highs = Bright / Dull
- Air = Crispy